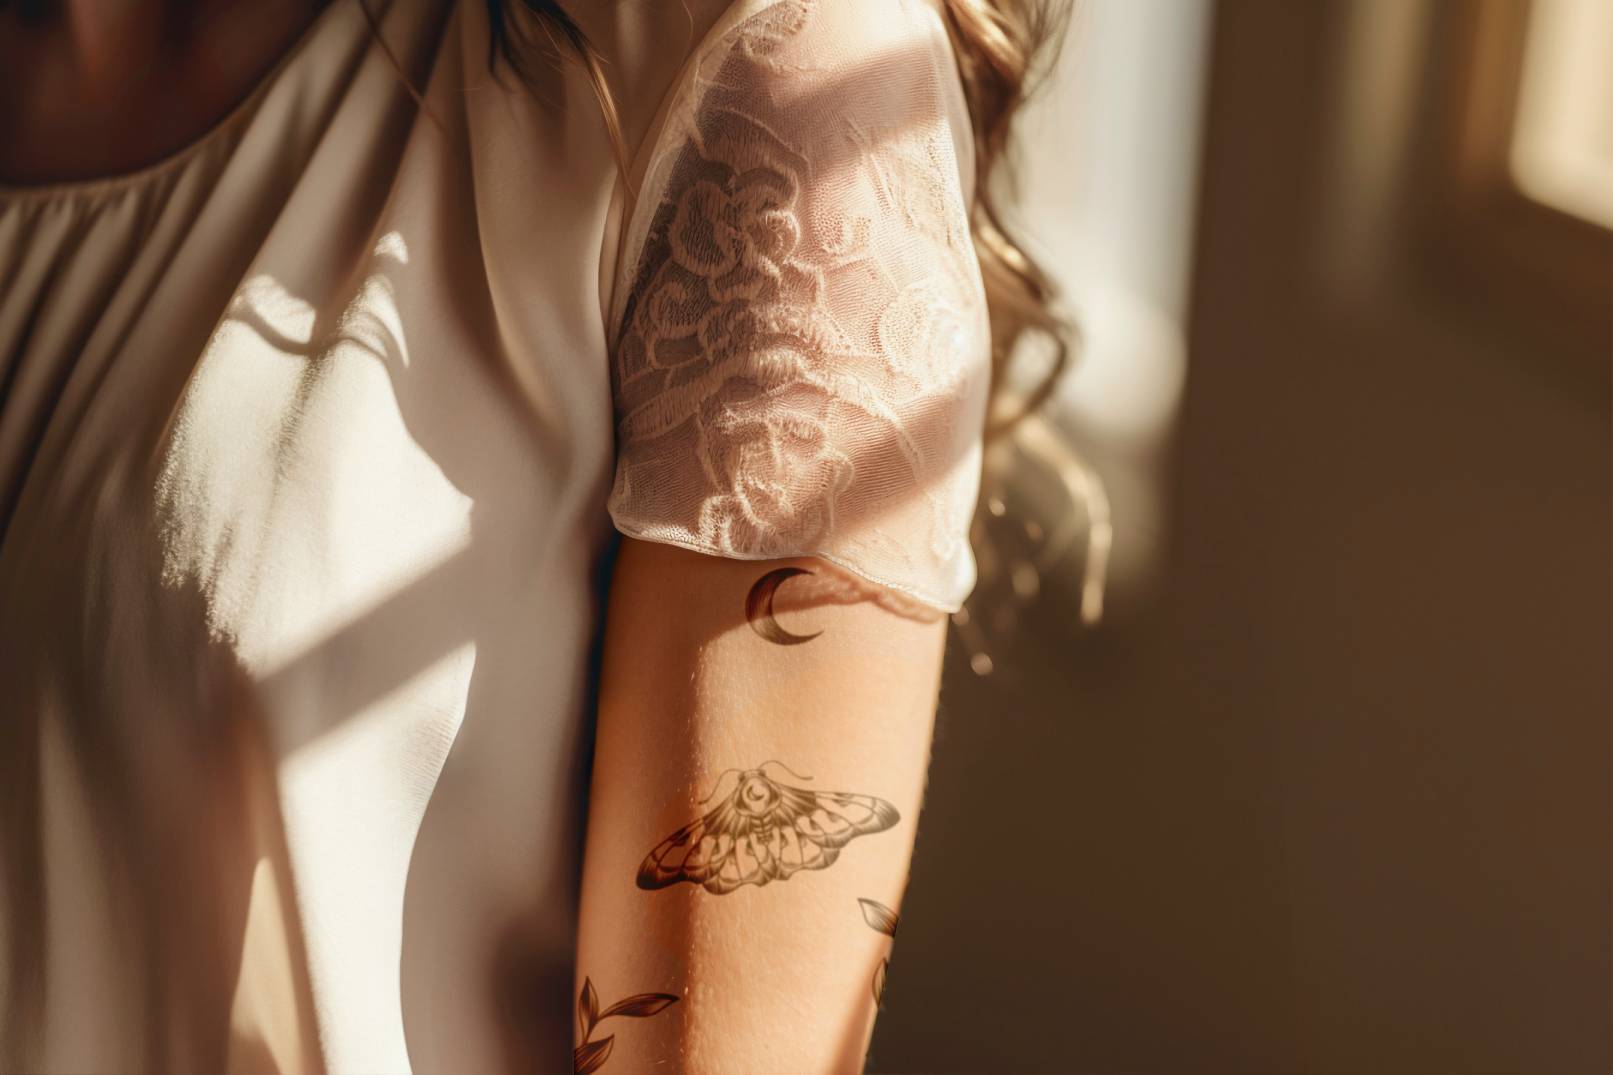


Drawing your own tattoo with jagua gel is not difficult, but almost everything that goes wrong happens in two places: the first five minutes, and the wait. This is the full process, with the real timings, and what to do when it does not go to plan.
| Drying time | Up to 1 hour |
| Leave the gel on | 2.5 h minimum · up to 4 h for darker |
| Remove it | Before you go to bed |
| Colour develops | 12 to 24 hours |
| Tattoo lasts | 1 to 2 weeks |
Just opened the box? Start here. Straight after rinsing it looks pale grey, and that is normal.
Jump to: What you need · Setting up your gel · Before you start · Step by step · Colour development · Shading · Fixing mistakes · Troubleshooting · FAQ
What you need
Essential: a jagua gel tube or your prepared paste, disinfecting gel to clean the skin, and paper towel plus cotton swabs for correcting mistakes.
Worth having: transfer paper if you would rather not draw freehand, nitrile gloves to keep your fingers unstained, and Mefix tape. That last one is the tip most people never hear: once the gel has dried, a strip of Mefix over the design stops it flaking off early, which is the main reason a stain comes out patchy.
If you are starting from nothing, our jagua kits bundle the gel, applicator tips and stencils together.
Step 0: setting up your gel
This is the part our customer service hears about most, and it takes ninety seconds once you know it. What you do depends on which format you bought.
If you have a 10 ml tube
Three pieces come with the tube: a white or transparent adapter, a fine tip (blue or pink, the colour varies) and a cleaning pipette. Assembly takes three moves, and the order matters.
- Peel off the metallic seal on top of the tube, the way you would open a ketchup bottle.
- Push the tip onto the adapter first. Blue or pink part onto the white or transparent part. Put these two together before either one goes near the tube.
- Screw the assembly onto the tube, with the white pointed end of the adapter going inside the tube, not facing outward.
The third piece in the box is a cleaning pipette, for rinsing the tip once you are done.
If you have a 100 ml or 1 L pouch
Refill pouches come without an applicator, because they are meant to fill your own. Transfer the gel into a cone or an applicator bottle, then work as normal.
Whichever format
Take the gel out of the fridge or freezer thirty minutes before you start. Cold gel is thick, drags, and gives you uneven lines. This one step fixes more first-time problems than any technique tip.
Before you start: the five minutes that decide everything
Patch test, 24 to 48 hours ahead
Put a small dot of gel on your inner arm and leave it. Jagua is plant-based and reactions are rare, but if you have a known allergy to tropical fruit (kiwi, mango, banana), this is not optional. More detail in our safety guide.
Choosing where to put it
Thicker skin stains darker and holds longer. Forearms, calves and the back of the hand are the reliable choices. Fingers and palms stain intensely but fade fastest because you wash them constantly. For a first attempt, pick somewhere flat and easy to reach with your dominant hand: the inner forearm is the classic for a reason.
Clean and degrease
Wash the area to remove dirt, oil and any lotion, then pat it dry. Skip moisturiser entirely that day. Any film on the skin blocks the dye from binding, and it is the single most common cause of a stain that never darkens. Avoid cuts and broken skin.
Step by step
1. Get your design onto the skin
If you draw well, go freehand. If not, transfer paper does the work: draw your design on the smooth side with a non-toxic pen, press it ink-side down onto clean dry skin, dampen the back with a slightly wet sponge or cloth, then peel the paper away. You are left with an outline to follow.
Either way, practise the shape on paper first. It costs two minutes and it is the difference between a confident line and a hesitant one.
2. Apply the gel
Attach the applicator tip, then follow your outline with steady, even pressure. Move slowly. The gel sits proud of the skin rather than soaking in immediately, so you have a moment to correct, but not long.
Thicker lines give a darker result; very fine lines can disappear as the stain develops. If you are unsure, err slightly thick.
3. Let it dry
Allow up to one hour for the gel to dry completely. It will go from glossy to matte and start to look slightly cracked. Do not move, bend or lean on the area during this phase. Most smudged first attempts happen here, not during application.
Once it is properly dry, a strip of Mefix tape over the design protects it for the rest of the wait.
4. The wait
Leave the dried gel on the skin for at least 2.5 hours. Up to 4 hours gives a noticeably darker stain. This is the part where patience actually converts into colour, so if you can spare the extra ninety minutes, spare them.
Take it off before you go to bed. Sleeping in it does not make it darker; it makes it smudge, and it stains your sheets.
5. Remove the gel
Peel the dried gel away gently, or rinse it off under running water. Do not scrub. Underneath you will find a pale grey print, which is exactly what you should find.
The next 24 hours: how the colour develops
This is the section to read before you decide your tattoo failed.
Straight after rinsing, the design is a light grey shadow. Nothing has gone wrong. Jagua's active compound reacts with the proteins in the top layer of your skin and oxidises gradually. The colour deepens over 12 to 24 hours to reach its full blue-black, and it can keep gaining a little intensity slightly beyond that.
What speeds it up or slows it down: warmth helps, cold weather slows it, and covering the area with lotion or oil during this window gets in the way, because the reaction needs air. Wait until the colour has set before you moisturise.
Once it has developed, the way you treat it decides whether you get one week or two. That is covered in our jagua aftercare guide.
Going further: shading and depth
Most people stop at outlines, which is a shame, because jagua shades better than it gets credit for.
For darker areas, apply more gel. For lighter areas, use a thinner layer, or blot some off gently with a paper towel before it dries. For gradients, blend the edge with a cotton swab or a fine brush while the gel is still wet.
For depth, work in layers: let the first pass dry slightly, then add more gel to the areas you want to come forward. The difference in stain intensity reads as a three-dimensional effect once everything develops.
None of this is beginner work. Try it on your second or third design, not your first.
Fixing a mistake
Speed is everything. Jagua stains on contact, so a smudge you leave for two minutes is a smudge you keep for two weeks.
The moment something goes wrong, wipe it with a paper towel, then clean the spot properly with disinfecting gel on a cotton swab. Clean past the edges of the mark: even a faint smear of gel that you barely notice will develop into a visible grey mark tomorrow.
If you catch it immediately, you can usually remove it entirely. After the gel has dried on the skin, you cannot. At that point your options are to work the mistake into the design, or wait it out.
Five mistakes that ruin a first attempt
1. Moisturiser on the skin. Cream, oil or sunscreen forms a barrier and the dye never binds properly. Wash and degrease, and use nothing else that day.
2. Cutting the wait short. Rinsing at ninety minutes because you are bored gives you a pale, thin stain. The gel needs its 2.5 hours minimum.
3. Trying to fix something too late. Corrections work in the first seconds. Once the gel has set, wiping only spreads the problem.
4. Judging it straight after rinsing. It is grey. It is meant to be grey. Come back in 24 hours before you form an opinion.
5. Moving during the drying phase. Bending an elbow, resting a forearm on a table, pulling on a sleeve. The design is at its most fragile in that first hour.
Troubleshooting
"It is still pale grey after 24 hours." Give it the full 24 before worrying, and longer if it is cold. If it stays light beyond that, the likely causes are residue on the skin, a leave-on time under 2.5 hours, or water contact too early. Nothing to fix now, but you will know for next time.
"The lines smudged." Almost always movement during drying, or removing the gel too roughly. Small smears can sometimes be tidied with a cotton swab on the fresh stain, though results vary. Otherwise, wait it out or draw around it.
"The colour came out uneven." Usually an uneven layer of gel, or the gel flaking off early on part of the design. Mefix tape solves the second problem.
"I got gel on my clothes." Rinse with cold water immediately. Jagua stains fabric as readily as skin, which is a good argument for the nitrile gloves and an old t-shirt.
"I want it gone sooner." Possible but not instant, and it takes a few days of gentle exfoliation. Full method in our removal guide.
Which designs work for a first attempt
Simple, bold and forgiving. Continuous-line shapes, thick botanical outlines, small symbols, lettering in a chunky font. Anything with a clear path your hand can follow in one movement.
What to avoid on day one: dense fine-line work, tight parallel lines that can bleed into each other, tiny detail under a few millimetres, and anything on a spot you have to contort to reach.
If you would rather not draw at all, our ready-made jagua designs give the same ink and the same result without the freehand.
After the session
Rinse the applicator tip under hot water straight away so it does not clog, and squeeze the air out of the tube before you cap it. Then get the gel back into the cold: it is a fresh product with a short life at room temperature. Exact temperatures and shelf life are in our jagua gel storage guide.

Fresh gel, darker stain.
Jagua gel in 10 ml tubes, 100 ml refills and 1 L pro pouches. EU cosmetic-certified, vegan, PPD-free. Freshness matters more than technique for how dark a stain comes out.
Free shipping over €33 · Ships across Europe in 3-8 days
Frequently asked questions
The adapter will not screw onto my tube. Did I get the wrong parts?
No, and this is the most common message we get. The adapter is almost certainly the wrong way round: the white pointed end goes inside the tube, not facing outward. Mounted backwards, the two threads never meet, so nothing screws on however hard you turn. Flip it and it goes on without force. Also check the metallic seal on top of the tube has been peeled off, and remember to fit the tip onto the adapter before screwing the pair on together.
How long do I leave jagua gel on?
At least 2.5 hours once it has dried, and up to 4 hours if you want a darker stain. Take it off before bed rather than sleeping in it: overnight wear does not deepen the colour, it just smudges the design and stains your sheets.
How long does jagua gel take to dry?
Up to an hour, depending on how thickly you applied it and how warm the room is. It goes from glossy to matte and starts to look slightly cracked. Do not move the area until it is fully dry.
Why is my jagua tattoo still grey?
Because it has not developed yet. The colour deepens over 12 to 24 hours after you rinse the gel off. If it is still pale after a full day, the usual causes are lotion or oil on the skin, a leave-on time under 2.5 hours, or water contact too soon.
Can I use a stencil instead of drawing freehand?
Yes. Transfer paper is the simplest route: draw on the smooth side with a non-toxic pen, press it ink-side down on clean dry skin, dampen the back, peel it off, then follow the outline with gel. Adhesive stencils work too.
How do I fix a mistake?
Immediately. Wipe with a paper towel, then clean the area with disinfecting gel on a cotton swab, going past the edges of the mark. Once the gel has dried on the skin the stain is set and you cannot lift it.
Does jagua gel hurt?
No. There are no needles and nothing penetrates the skin. The gel simply sits on the surface while the dye binds to your outer skin cells. The only sensation is a slight coolness while it dries.
How many tattoos can I get from a 10 ml tube?
Roughly four to five medium designs, though it depends heavily on line thickness and whether you shade. Bold, filled work uses far more gel than fine outlines.
Is jagua the same as henna?
No. Henna comes from a different plant and stains reddish-brown. Jagua comes from the Genipa americana fruit and stains blue-black, which is why it reads like real tattoo ink. Neither contains PPD, and neither should ever be black straight out of the tube.
How do I store jagua gel?
Cold, and out of the cold for thirty minutes before you use it. Full temperatures and shelf life in our storage guide. After each session, rinse the applicator tip in hot water so it does not clog.